Build smarter campaigns by sending the right message to the right people. This guide shows you how to create a target audience using filters so you can segment guests and personalize your outreach with ease.
Go to the Targets Section in the Affinect dashboard.
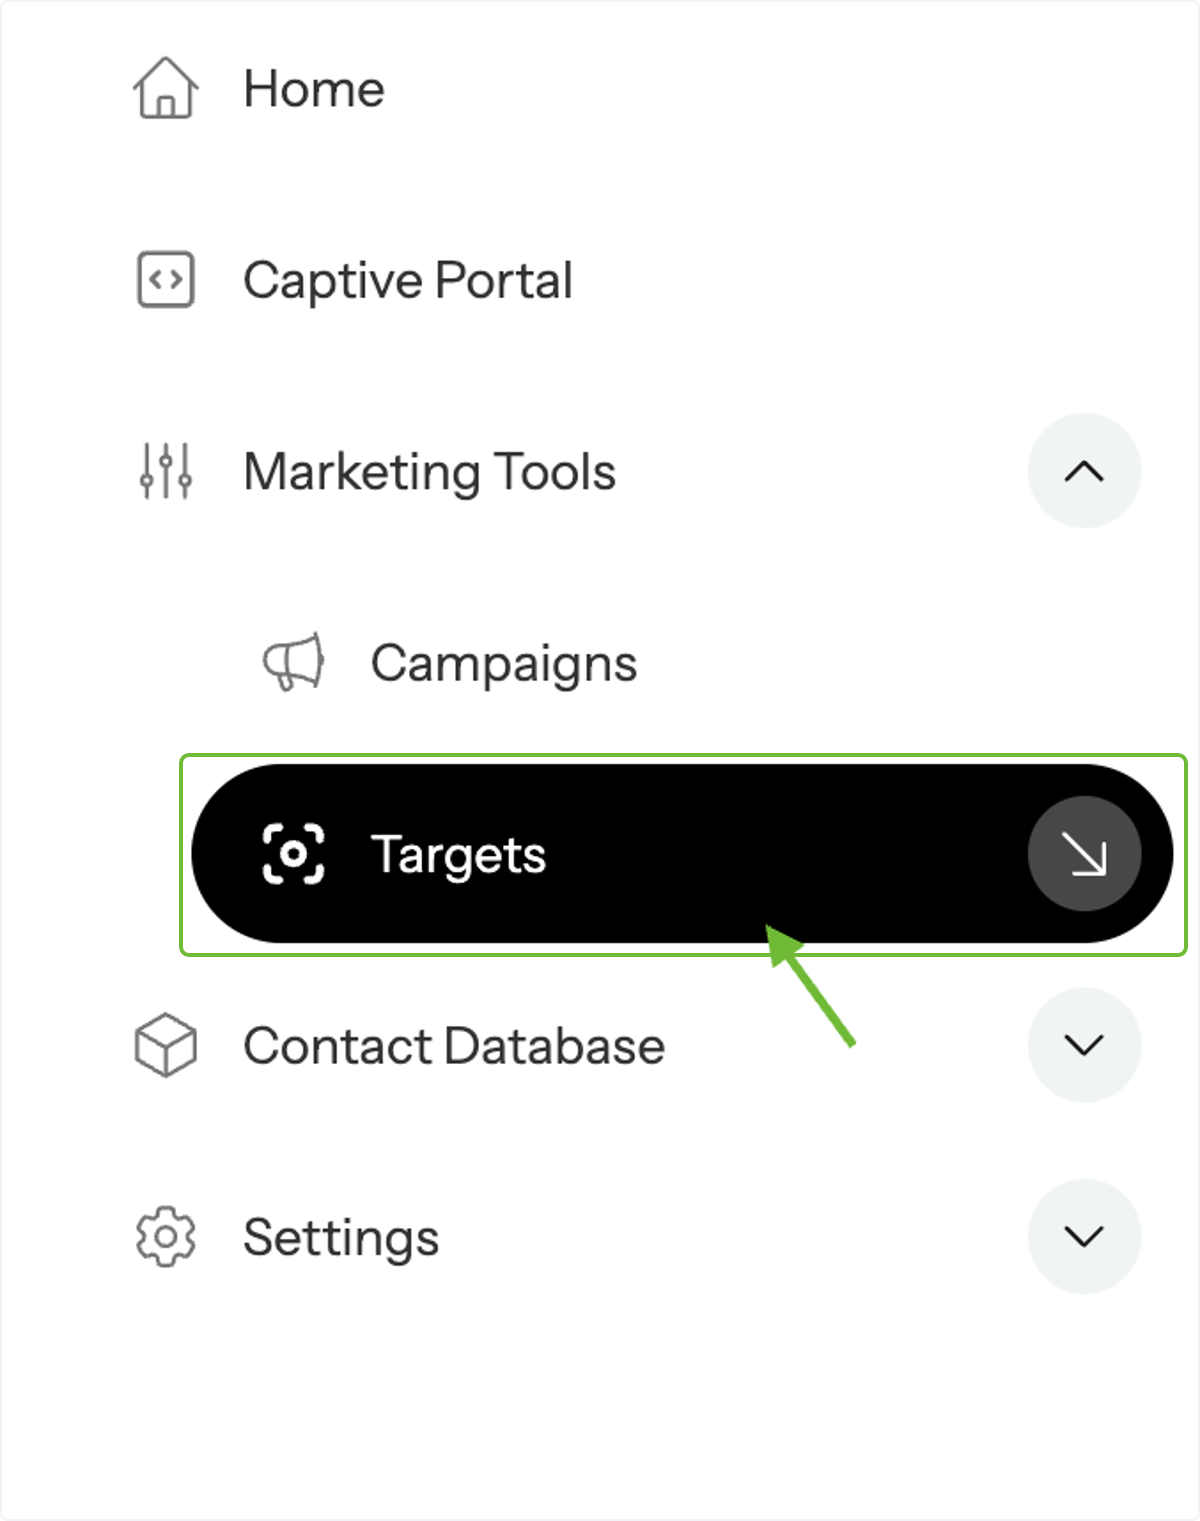
From the dashboard, click on Marketing Tools and select Targets from the Campaigns menu on the left-hand side.
Create a New Target.
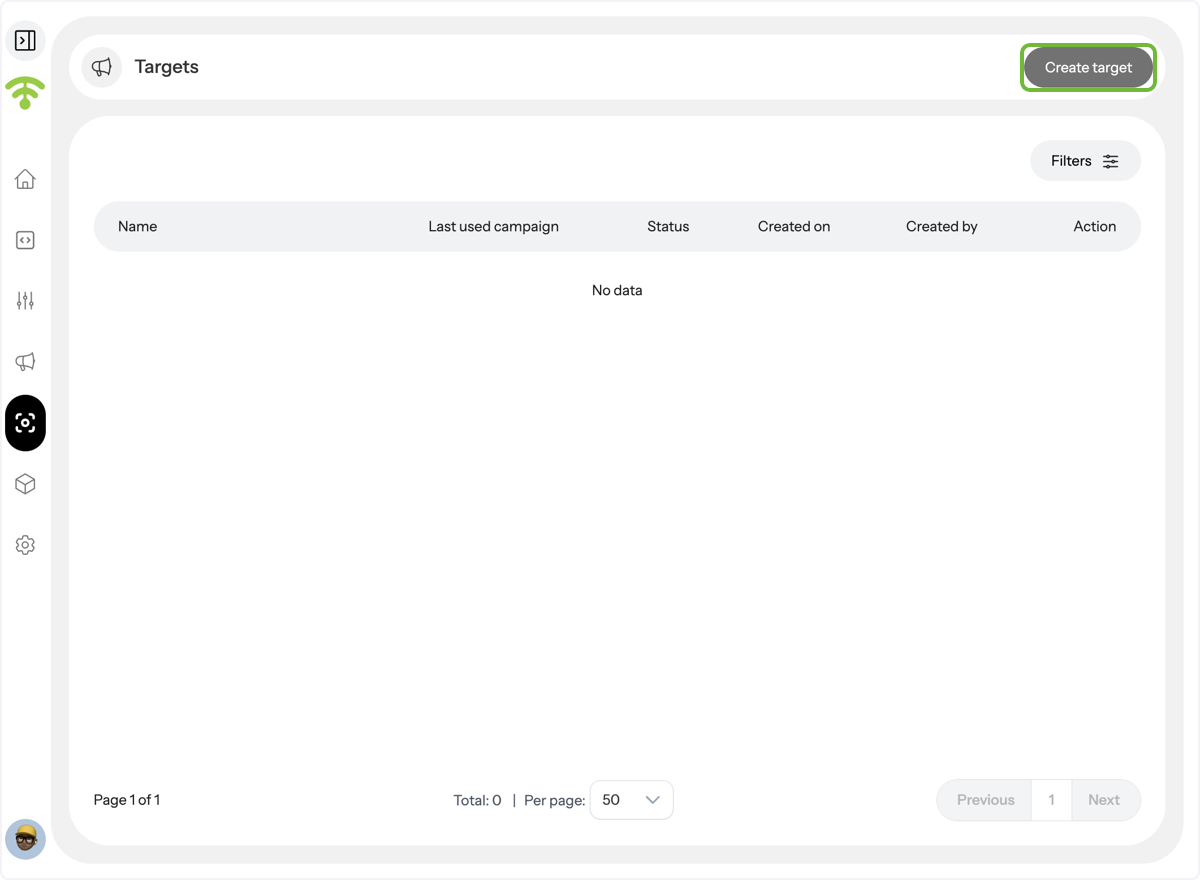
You’ll see a preview of all your existing targets. If none exist, the screen will show “No Data.” Click Create Target to begin.
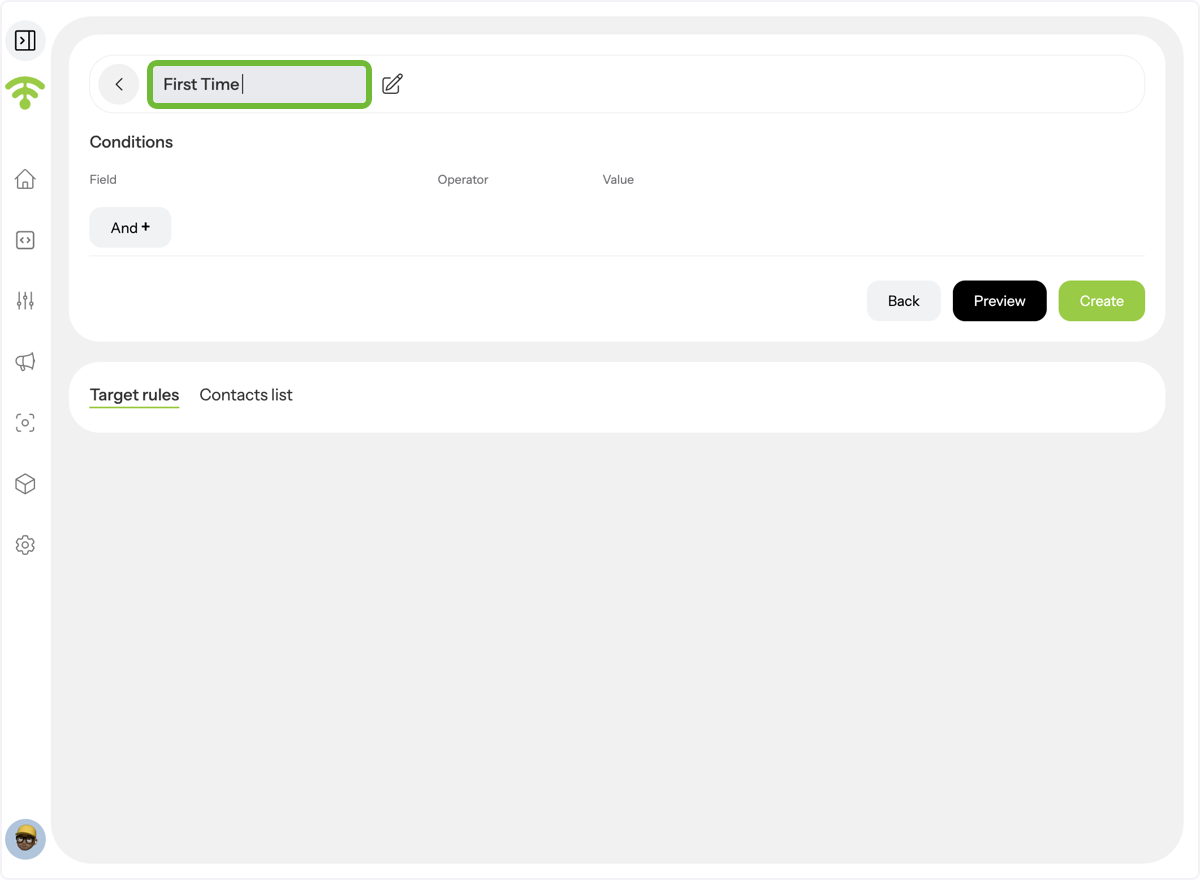
Name your target.
Let’s say you want to target first-time guests who visited a specific venue for the first time between April 1, 2025, and June 1, 2025. We will now create a smart target using these conditions. Let's name it "First Timers". This could be useful for running a follow-up campaign like: _“Loved your first visit? Come back this week and enjoy 20% off your meal!”_
Add your First Condition.
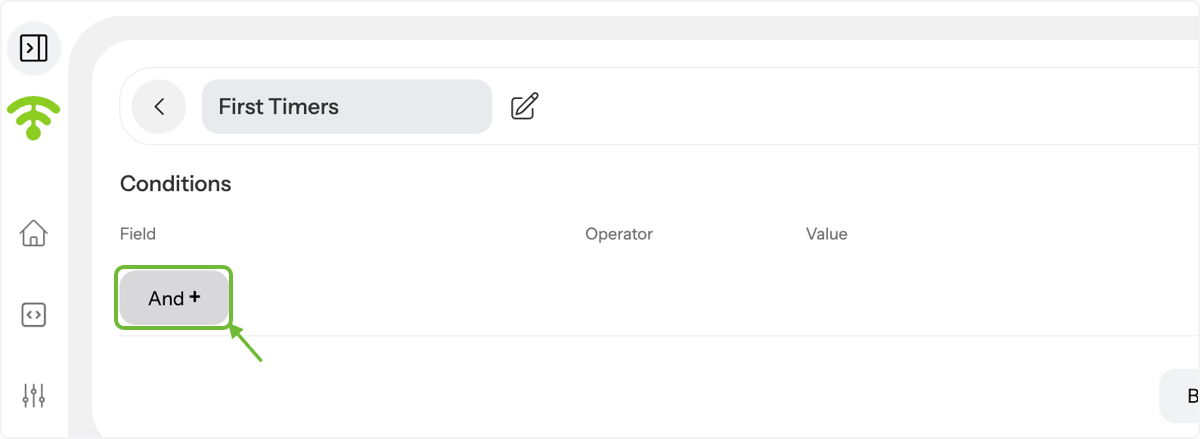
Click AND + to add your first condition.
Set the First Field.
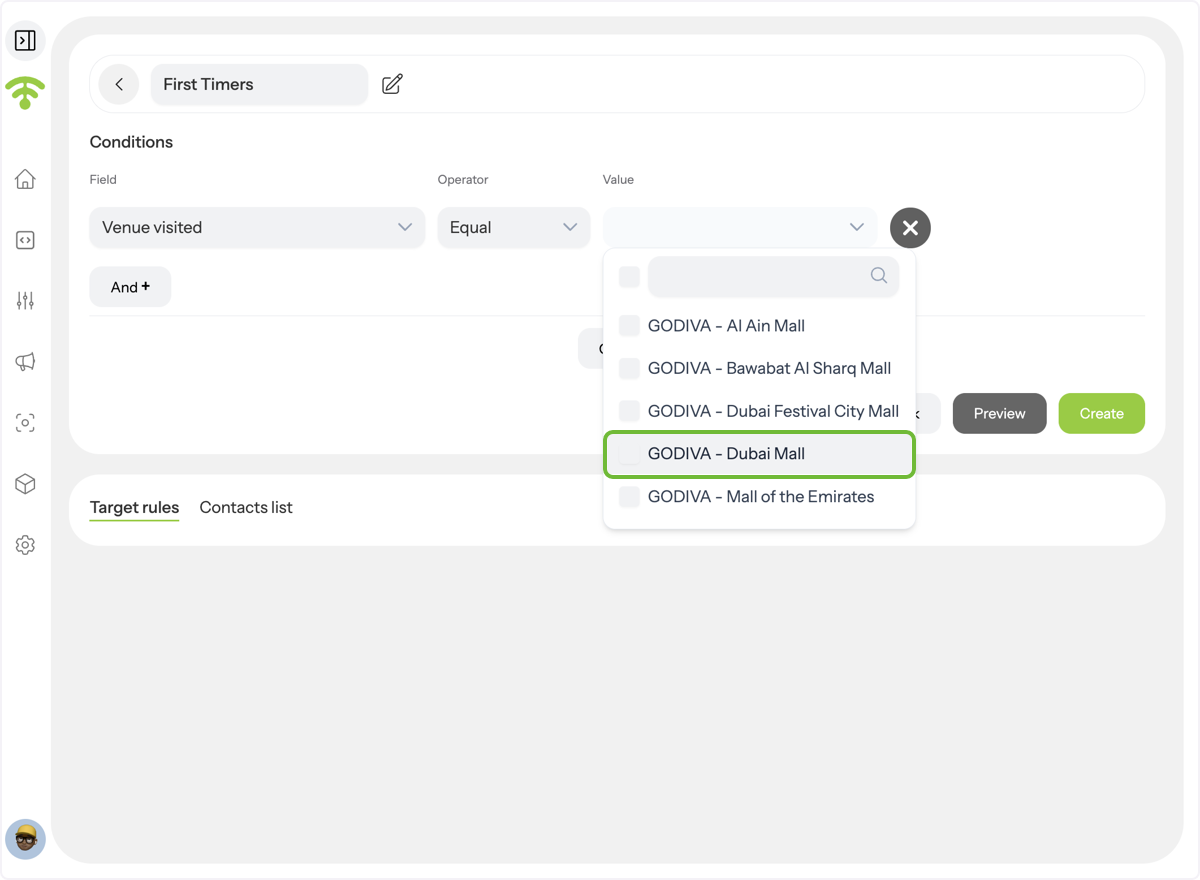
Choose the following:
- Field: Venue Visited
- Operator: Equals To
- Value: \[Select your specific venue, e.g., "Venue A"\]
This filters your target to customers who visited that venue.
Add the criteria.
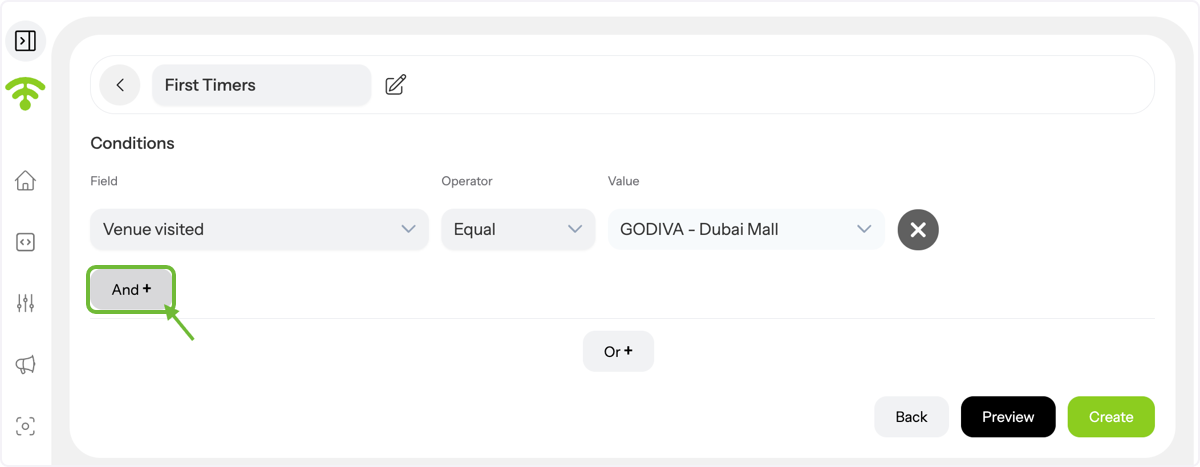
Click AND + again to add another field. This time, you’ll define when they first visited.
(Note: In Affinect, AND + is used like "OR" — it adds alternative criteria.)
Add the Date-Based Visit Condition.
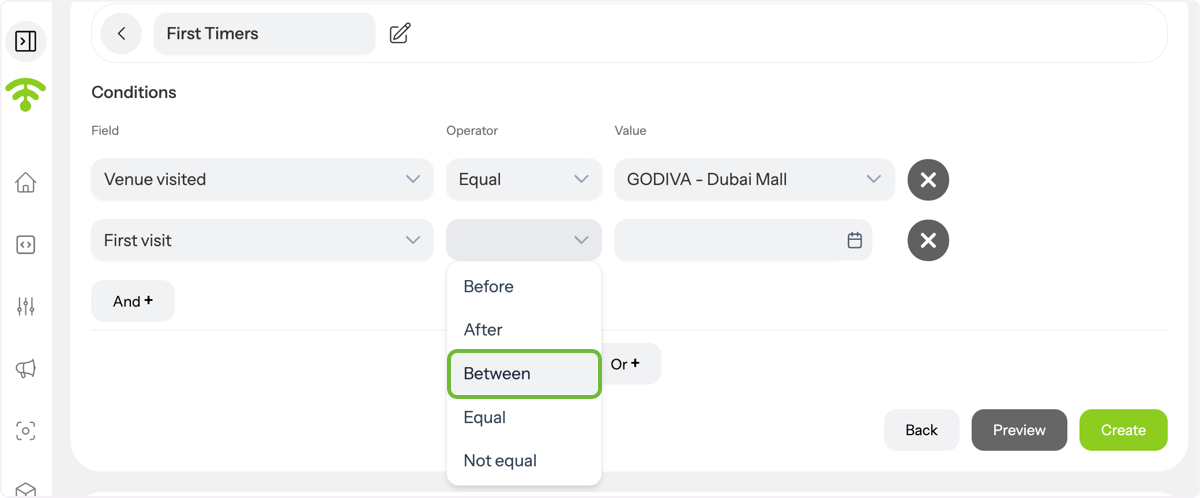
Now set the field and choose the Between operator.
- Set the Field: First Visit
- Operator: (Choose from options like Before, After, Between, Equals To, or Not Equals To)
<u>Operator Tips:</u>
- Equals To = Guests who visited on an exact date
- Not Equals To = Guests who visited on _any date except_ the one specified
- Before / After = Useful for pre- or post-specific date targeting
- Between = Ideal for targeting visitors within a specific time frame
Set Date Range for First-Time Visitors.
Set the date range to:
01.04.2025 to 01.06.2025
This means you're targeting guests whose very first visit to the selected venue happened between April 1st and June 1st, 2025.
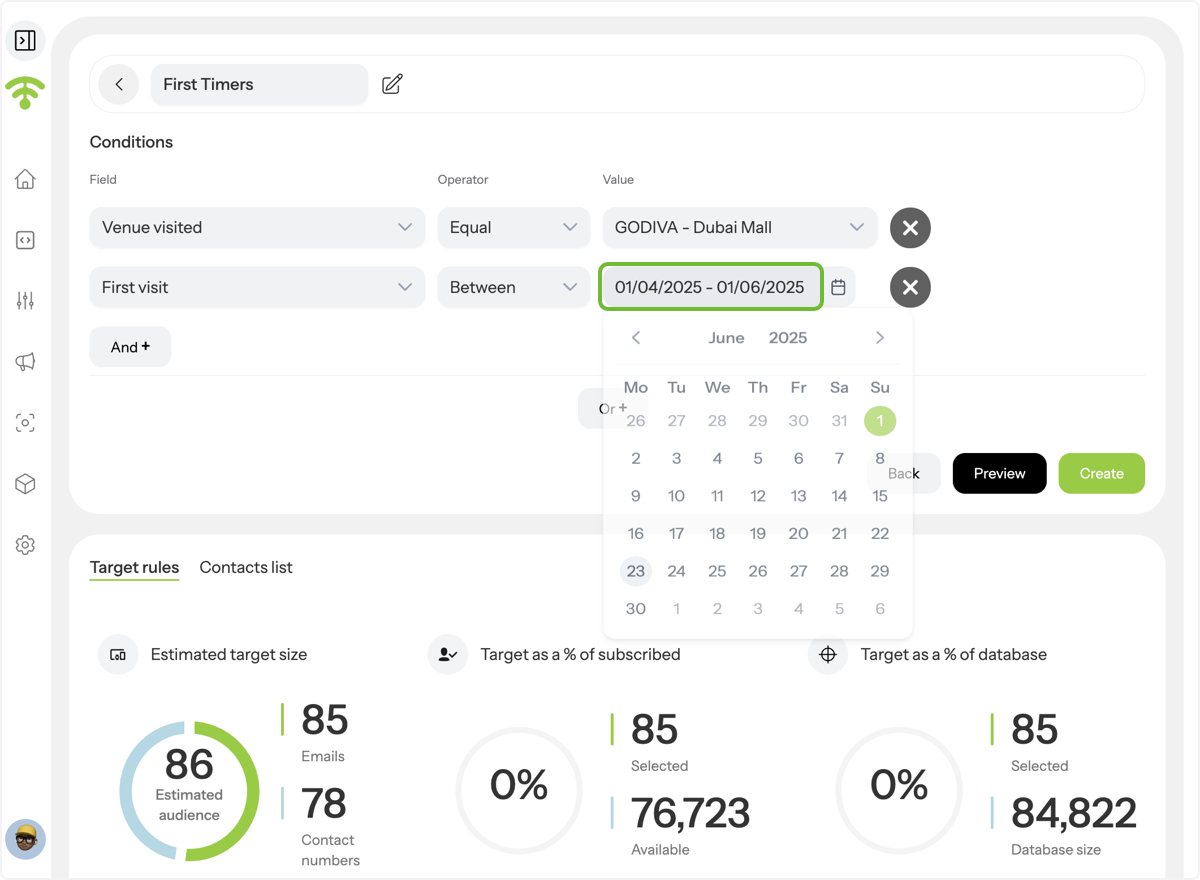
Final Review — View Estimated Audience.
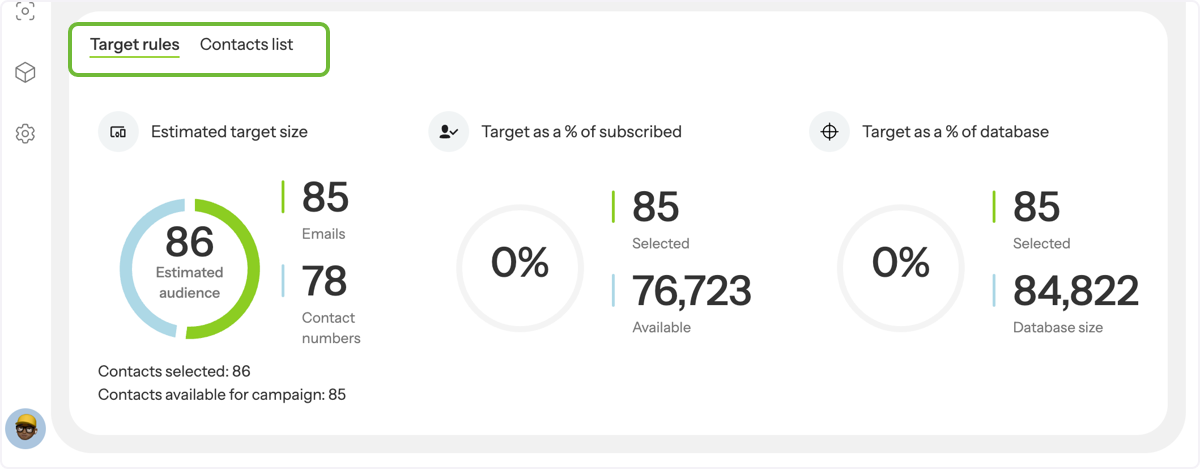
Once both conditions are added, check the Estimated Target Size in the panel below.
You’ll see:
- Total contacts matching your filters
- Available Contacts that are eligible to receive campaigns
This ensures your follow-up or welcome-back campaign reaches only first-time guests who visited in a specific time frame. This is perfect for welcoming new customers, nudging them to return while the experience is still fresh, or offering time-sensitive re-engagement promos.