Email verification in Affinect helps you capture accurate guest email addresses while maintaining a smooth login experience. By enabling verification, you can prevent fake or mistyped emails, improve data quality, and ensure reliable communication with both new and returning guests.
Affinect
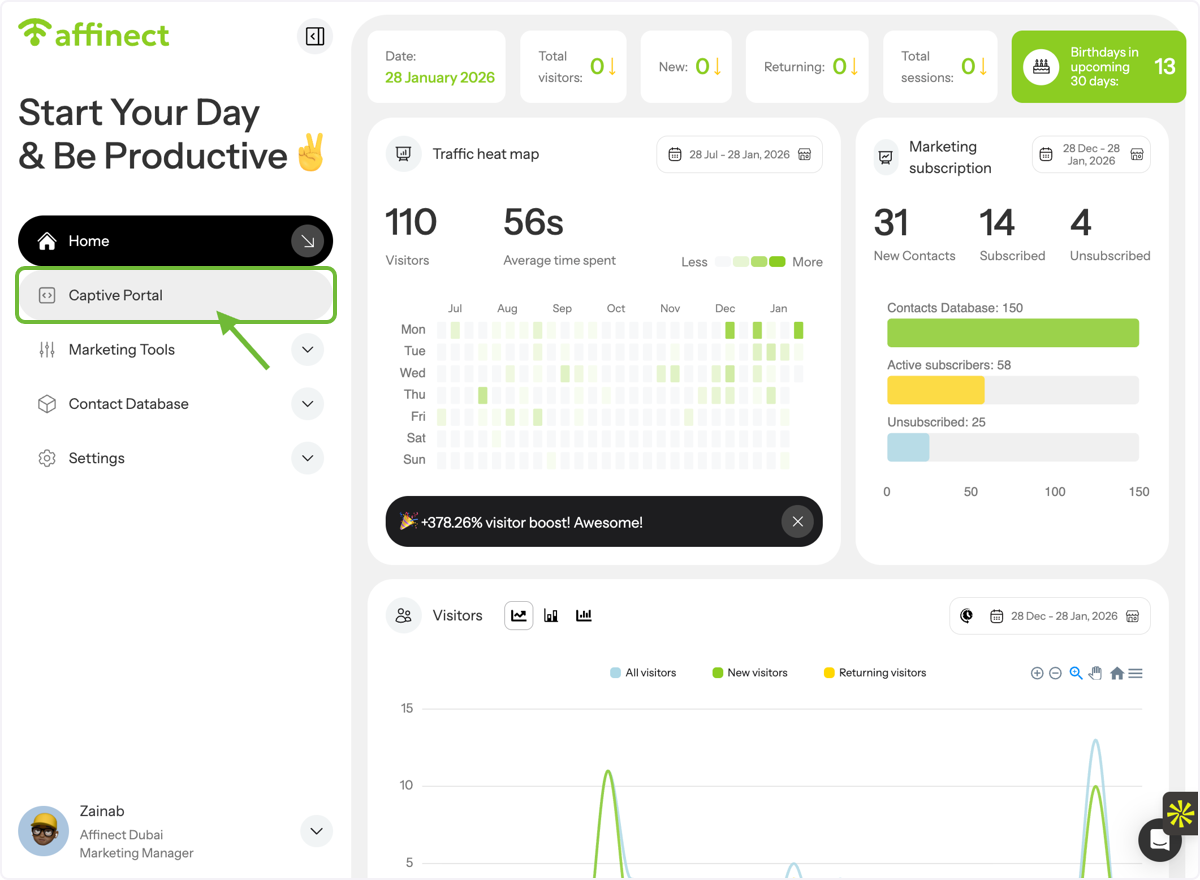
Open Captive Portal Settings
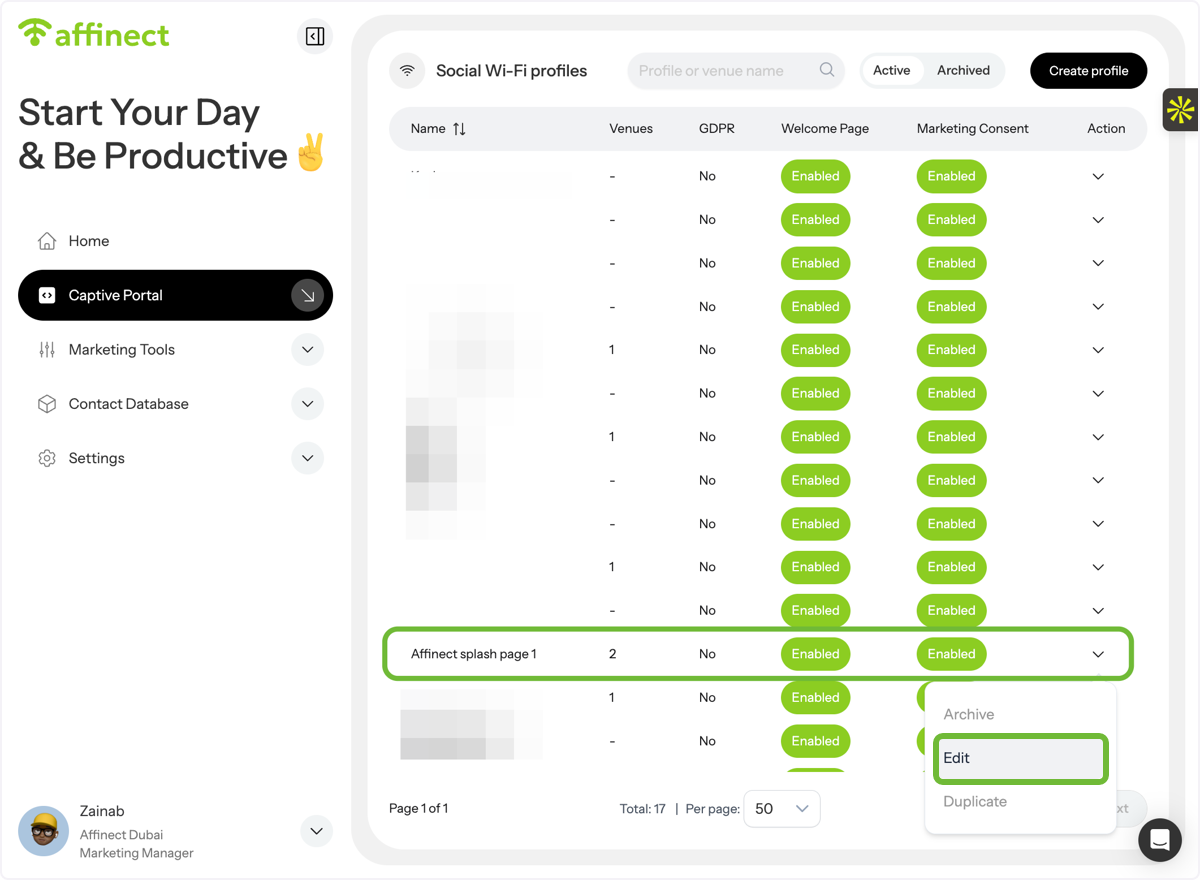
Select a Social Wi-Fi Profile to Edit
Your Social Wi-Fi profiles will appear. Click Edit next to the profile you want to update.
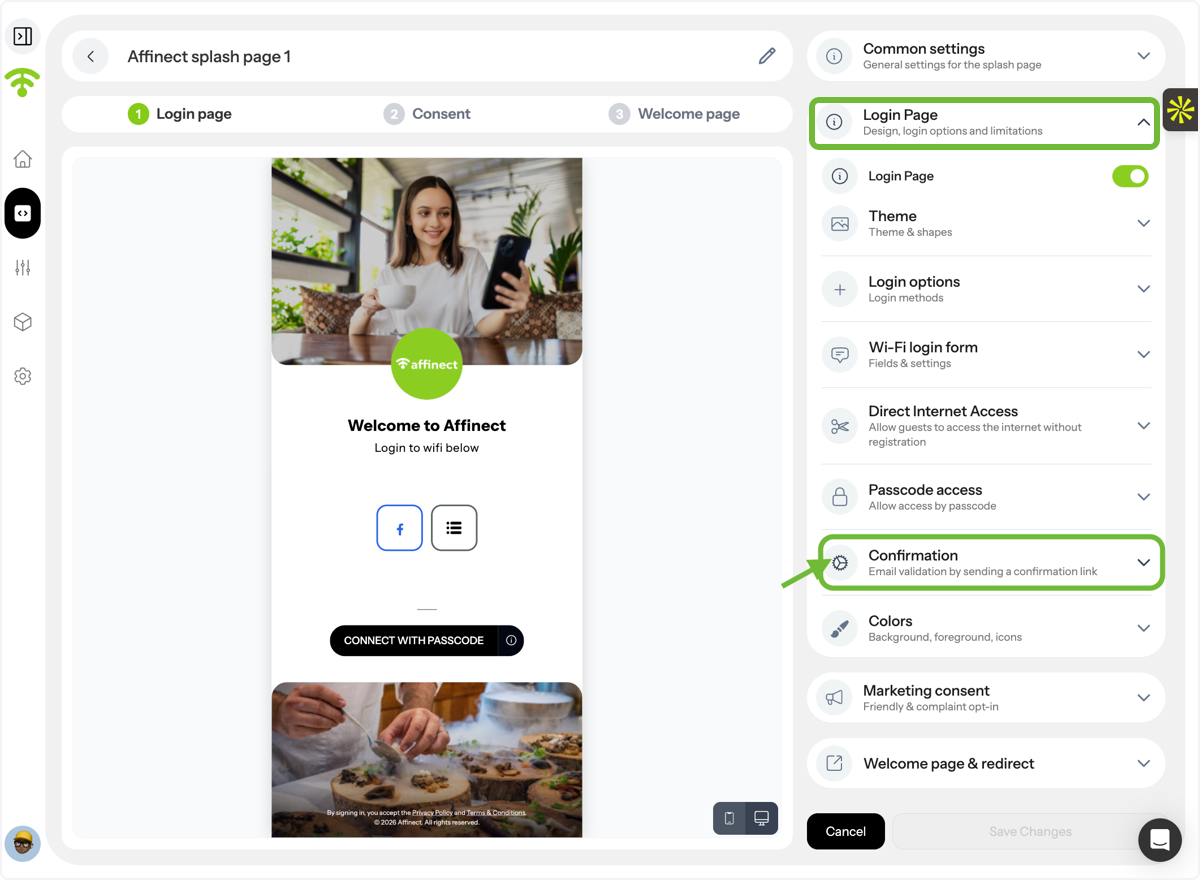
Go to Login Page Settings
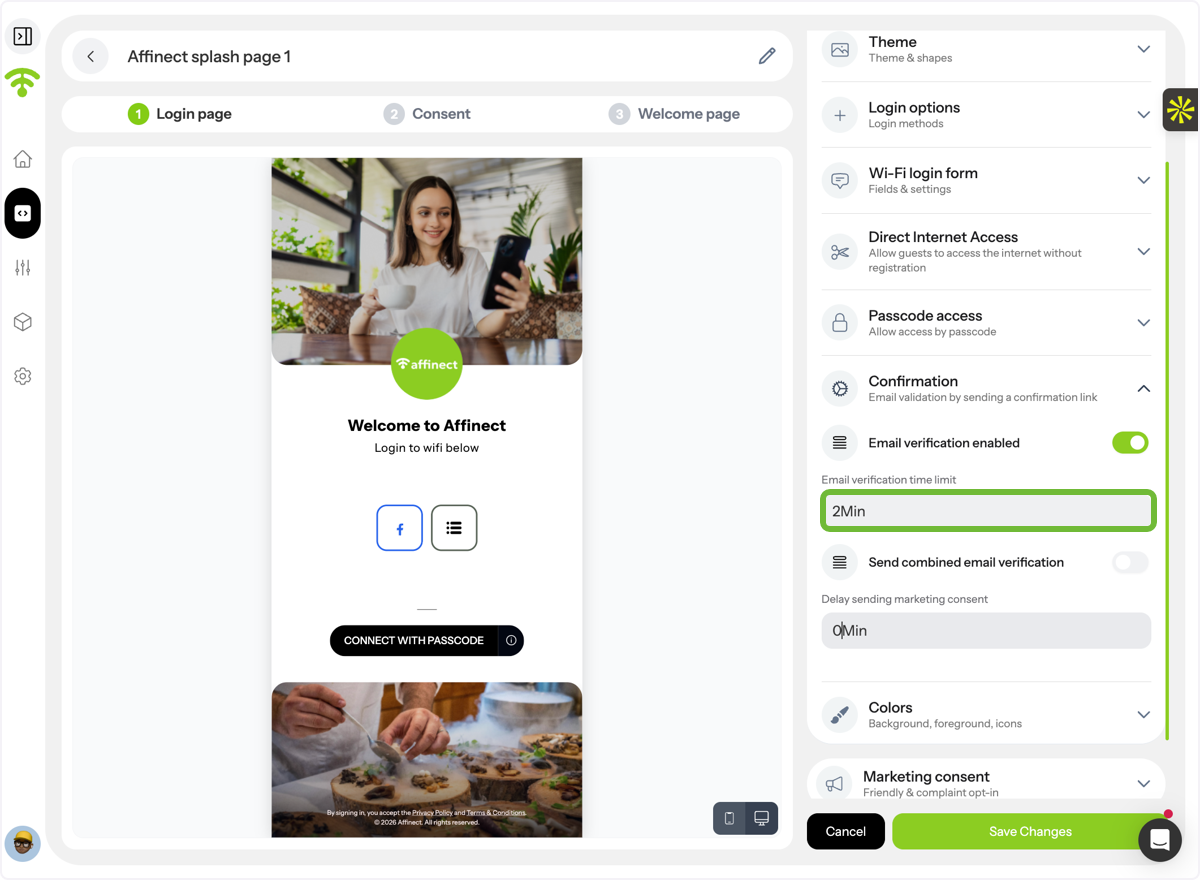
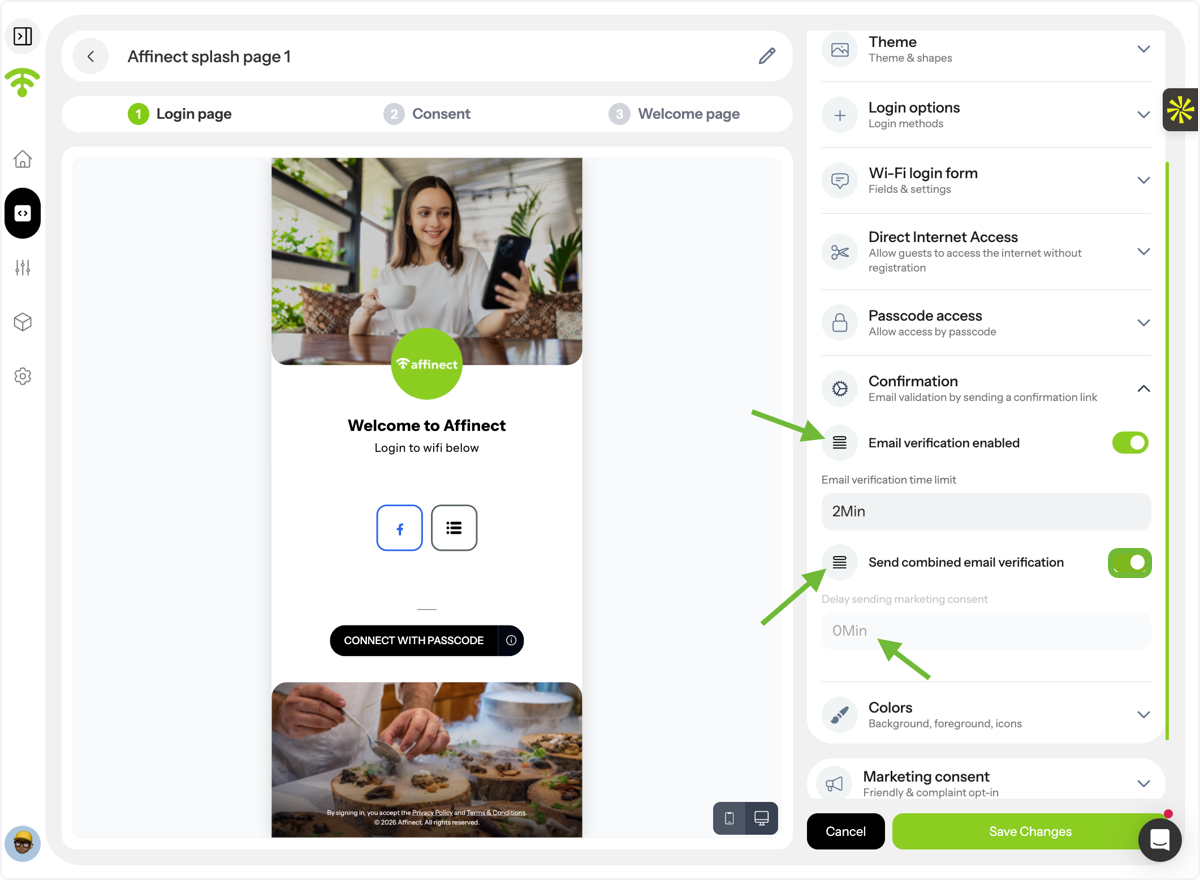
Navigate to Login Page Settings and locate the Confirmation section.
Enable Email Verification
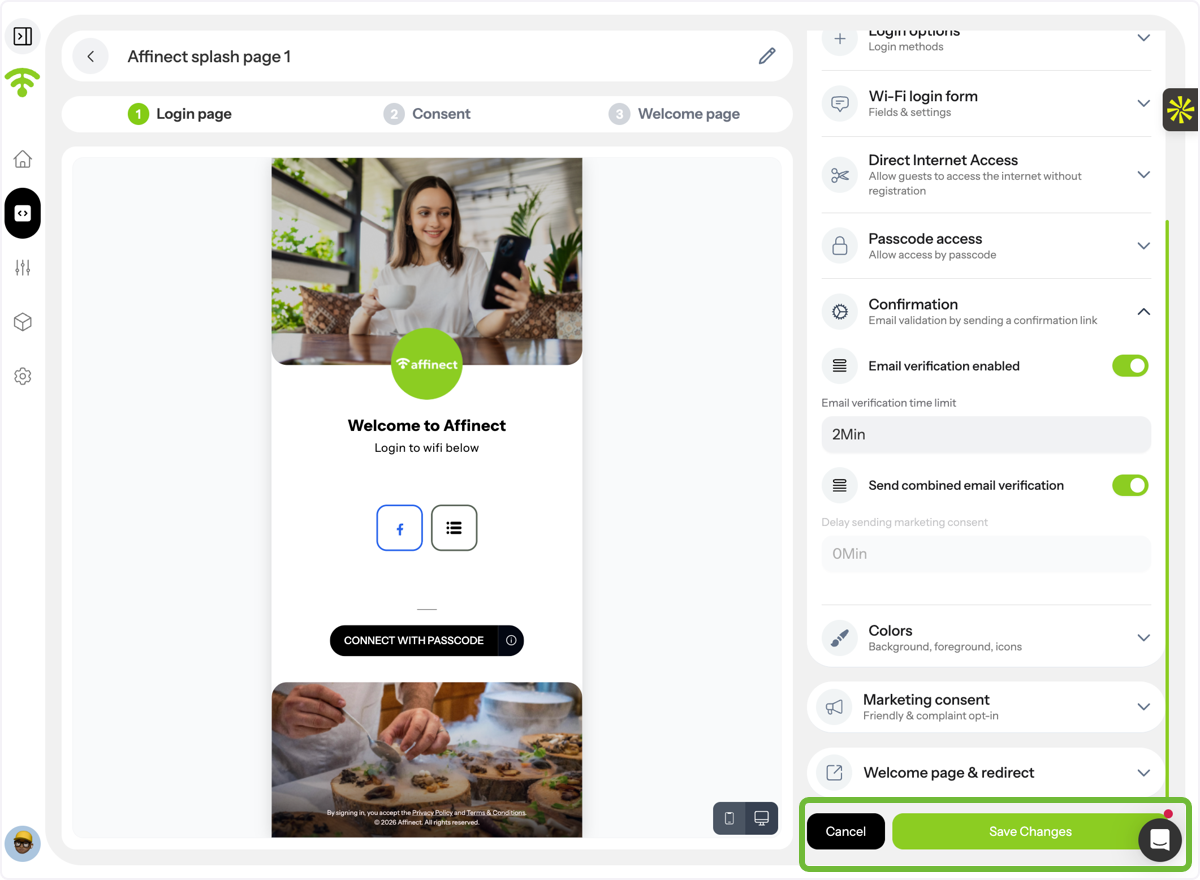
Toggle Email Verification on and set the time limit for verification.
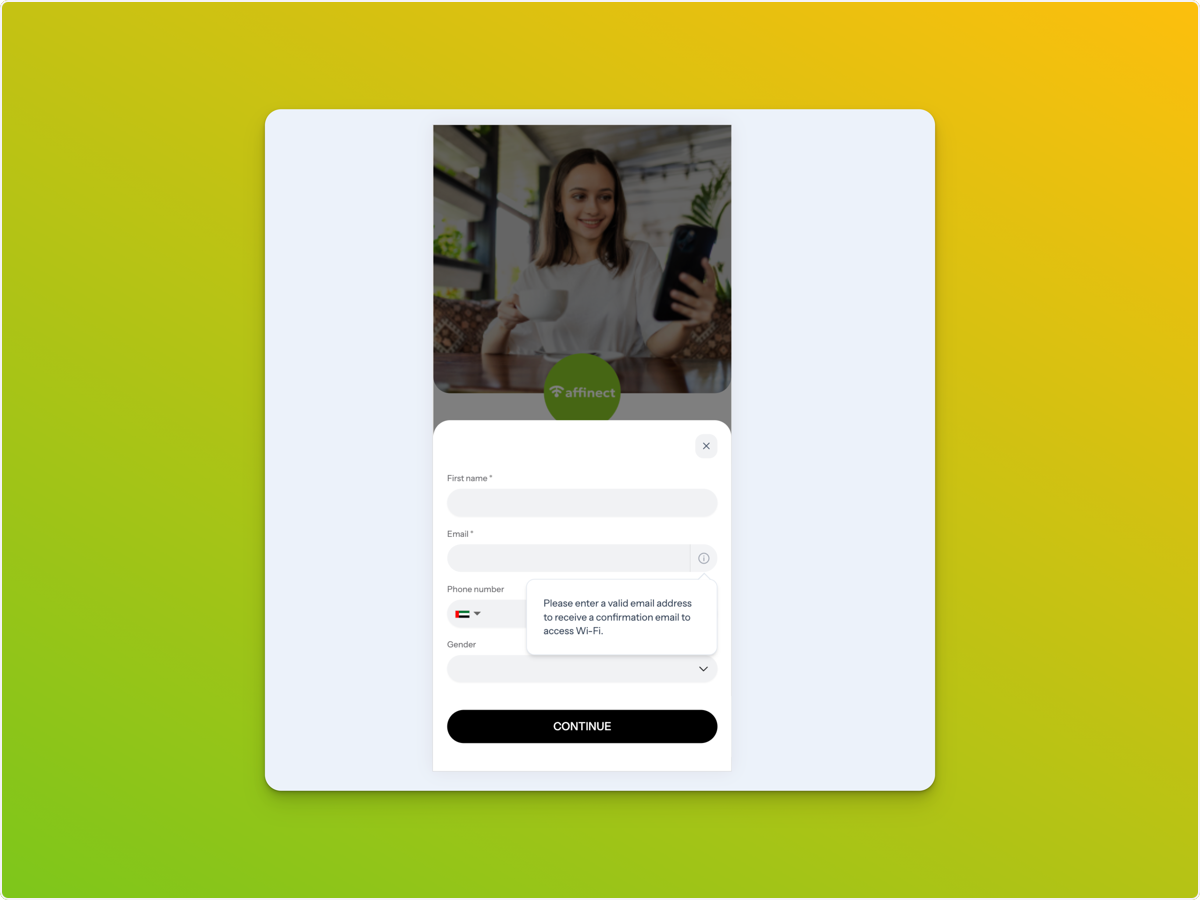
Customer Experience on the Captive Portal
Customers will see the verification prompt on the captive portal and receive a confirmation email in their inbox.
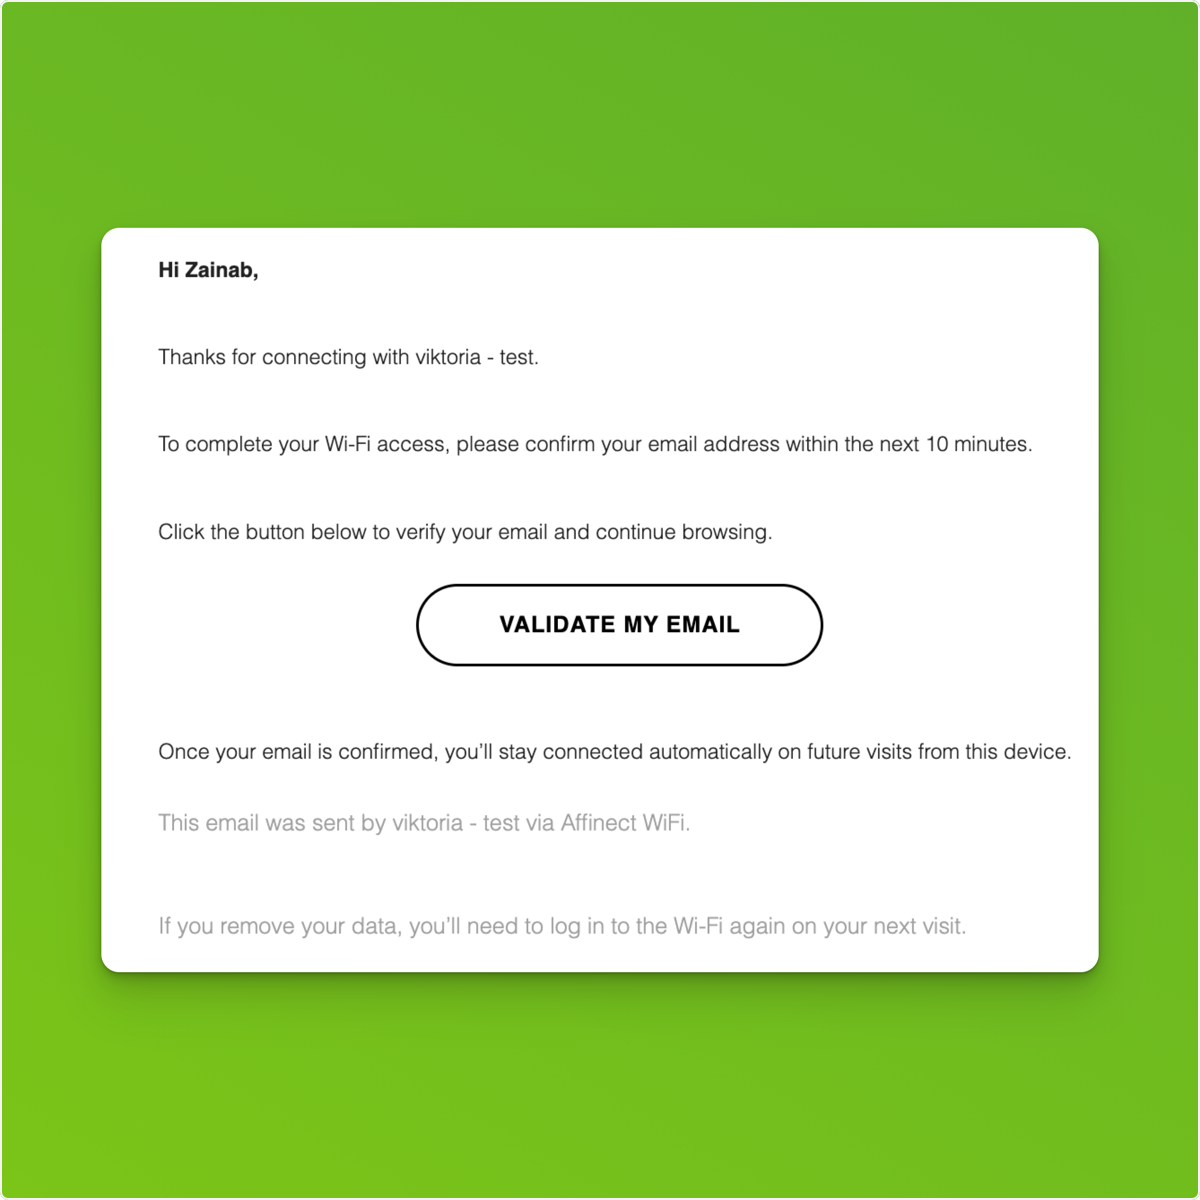
Email Verification Message
Customers receive an email with a Validate My Email button. This email is sent to all customers, whether subscribed or not. The validation link is sent only when an email address is used for the first time. Once validated, the email will not be revalidated on future logins.
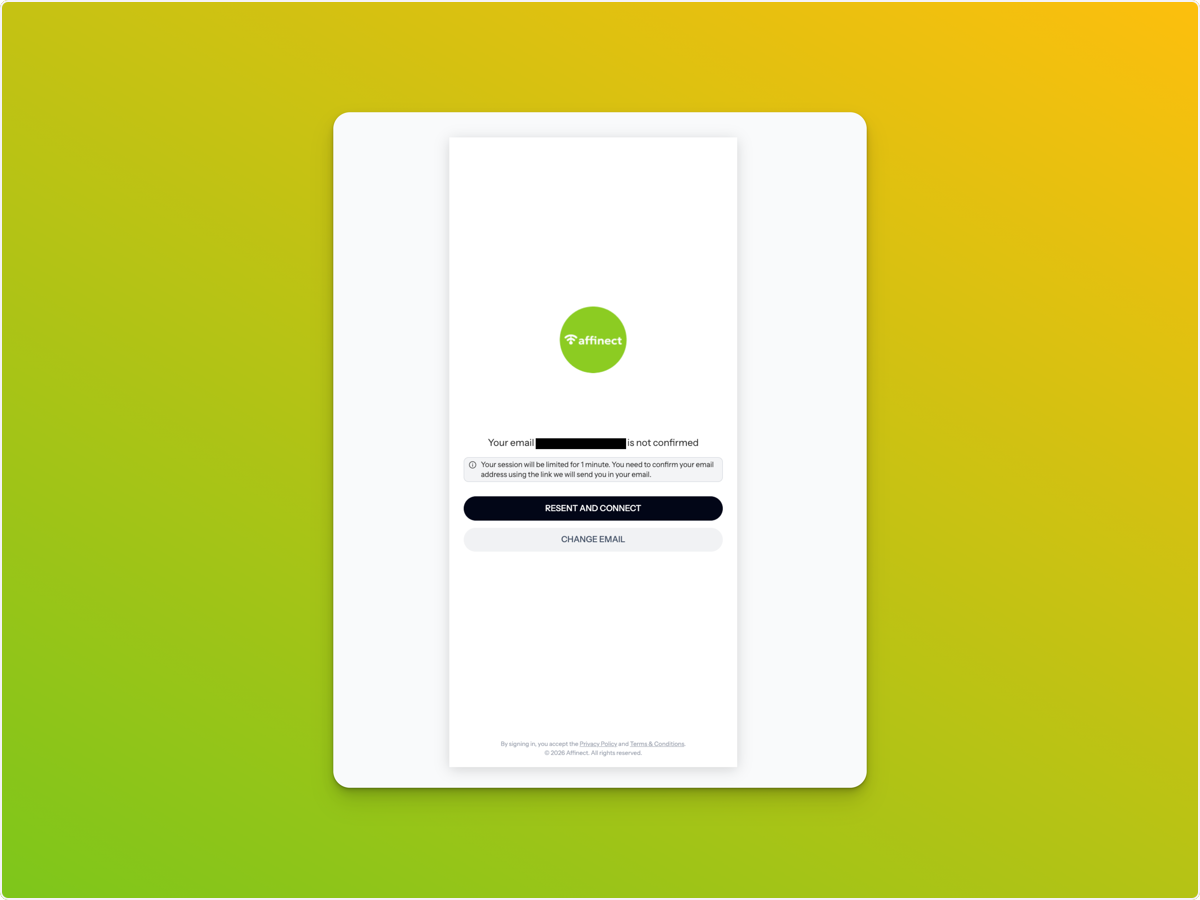
Grace Period Before Verification
Customers can browse without validating their email during the set time limit. Once the time expires, they’ll be prompted to resend the email or update their address. Validation is required only on the first use of the email address. Returning guests with validated emails won’t be asked to verify again.
Confirmation After Validation
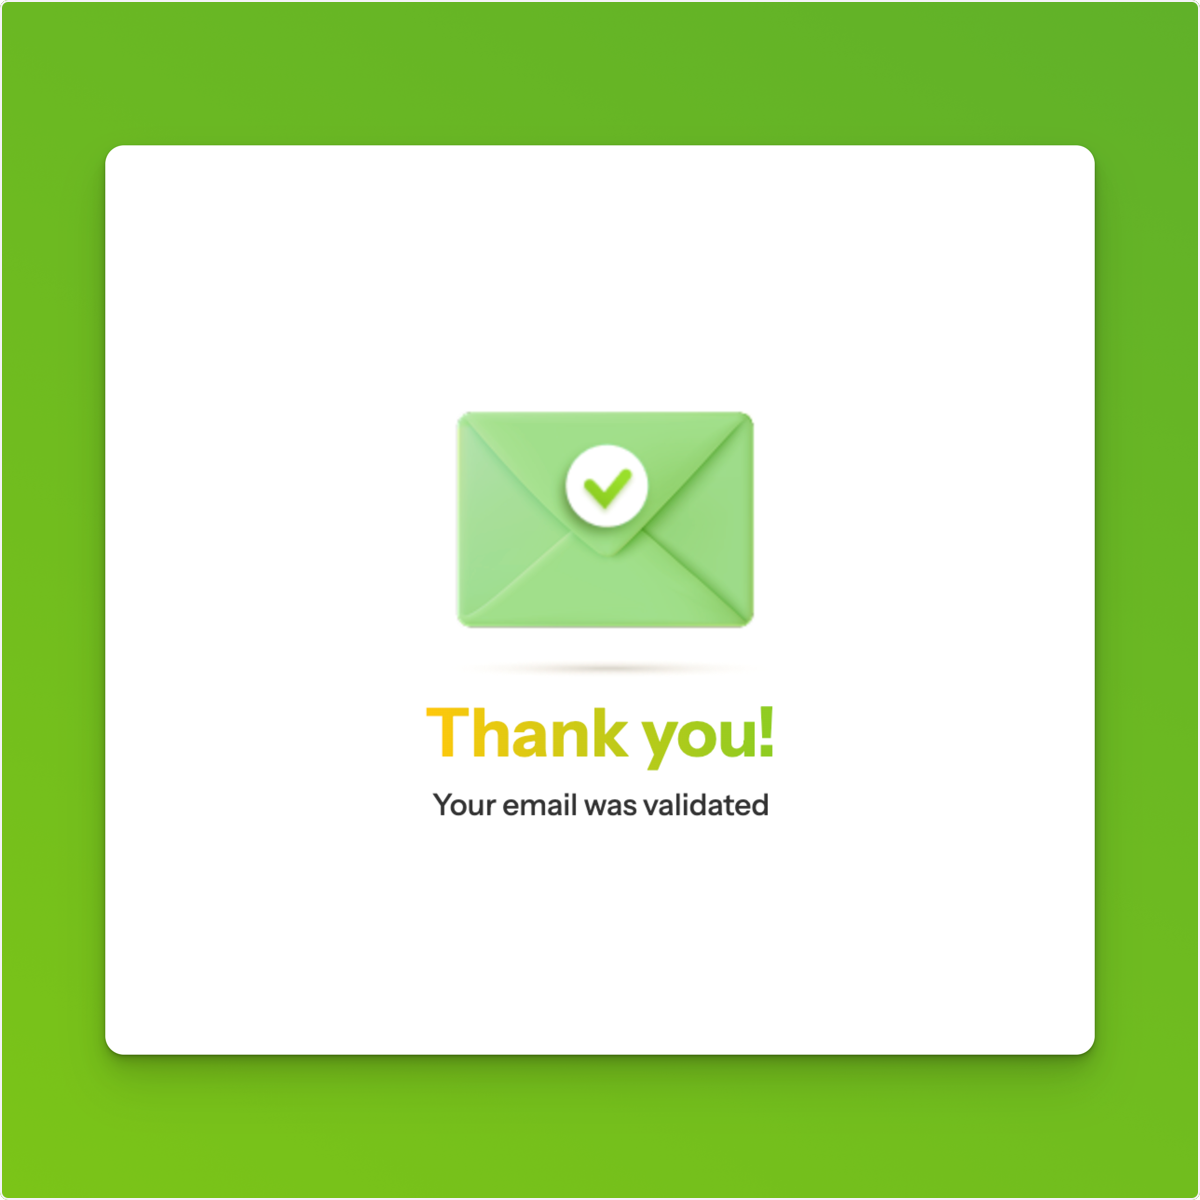
After validating their email, customers will see a confirmation message confirming successful verification.
Optional: Combine Marketing Consent Email
You can choose to send the marketing consent email along with the verification email. However, it’s recommended to delay this to avoid customer confusion.
Save Changes and Go Live
Click Save Changes to activate email verification. Tada! You’re all set. Enjoy cleaner data, fewer fake emails, and a smoother re-login experience for returning guests.